共计 1578 个字符,预计需要花费 4 分钟才能阅读完成。
实验内容:打开一幅低对比度图像,拉伸其图像,打开一幅过度曝光图像,拉伸其图像,观察图像变换,对图像直方图均衡算法
打开一幅低对比度图像
import cv2 as cv
import matplotlib.pyplot as plt

img1 = cv.imread('4.png')
img1 = cv.cvtColor(img1, cv.COLOR_BGR2GRAY)
plt.imshow(img1, cmap='gray', vmin=0, vmax=255)
img1.shape
(1024, 1024)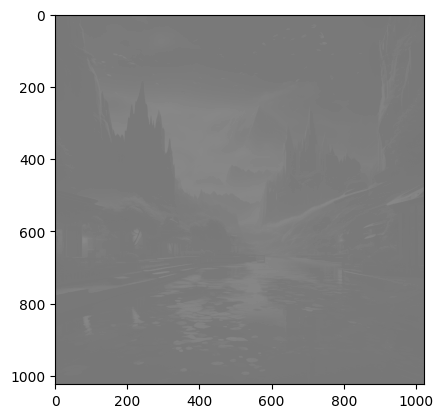
拉伸对比度
import numpy as np

rows, cols = img1.shape
flat_gray = img1.reshape((cols * rows,)).tolist()
min1 = min(flat_gray)
max1 = max(flat_gray)
output1 = np.uint8(255 / (max1 - min1) * (img1 - min1) + 0.5)
# output1 = np.uint8(img1  + 100)
# img1 = output1
# plt.imshow(output1, cmap='gray', vmin=0, vmax=255)
import math
def show_all(*arg):
index = 1
myLen = len(arg)
row = math.ceil(math.sqrt(myLen))
myCol = myLen // row
for i in range(myCol + 1):
for j in range(row):
#print(myCol + 1, row)
if i * row + j < myLen :
if len(arg[i * row + j].shape) == 3:
b,g,r = cv.split(arg[i * row + j])
t_img = cv.merge([r,g,b])
else:
t_img = arg[i * row + j]
plt.subplot(myCol + 1, row, i * row + j + 1)
plt.imshow(t_img.astype('uint8'), cmap='gray', vmin=0, vmax=255)
plt.title(index)
index += 1
plt.xticks([]), plt.yticks([])
else:
plt.show()
return
show_all(img1, output1)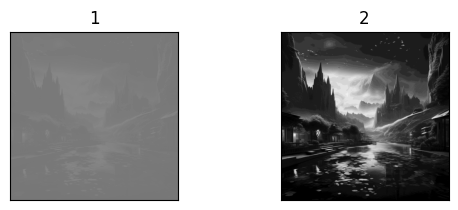
打开一副过曝图像
img2 = cv.imread('7.png')
img2 = cv.cvtColor(img2, cv.COLOR_BGR2GRAY)
plt.imshow(img2, cmap='gray', vmin=0, vmax=255)
img2.shape
(1024, 1024)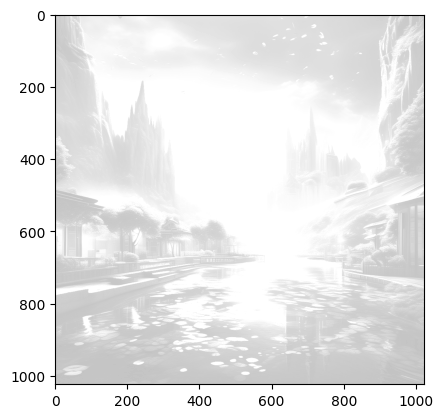
拉伸
rows, cols = img2.shape
flat_gray = img2.reshape((cols * rows,)).tolist()
min2 = min(flat_gray)
max2 = max(flat_gray)
output2 = np.uint8(255 / (max2 - min2) * (img2 - min2) + 0.5)
# output1 = np.uint8(img1  + 100)
# img1 = output1
# plt.imshow(output2, cmap='gray', vmin=0, vmax=255)
show_all(img2, output2)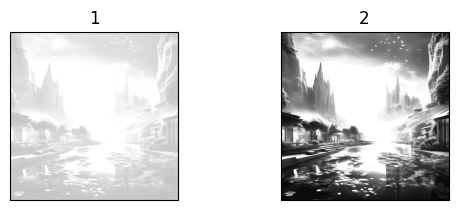
直方图均衡算法
以低对比度图像为例
output3 = cv.equalizeHist(img1)
show_all(img1, output3)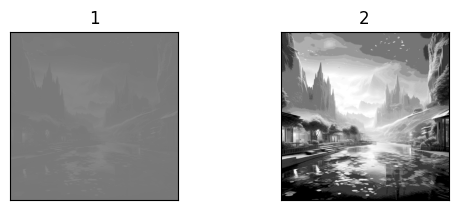
def show_histogram(fx, gx):
    plt.figure(1)
    plt.hist(fx.ravel(), 256, [0, 256])
    plt.figure(2)
    plt.hist(gx.ravel(), 256, [0, 256])
    plt.show()
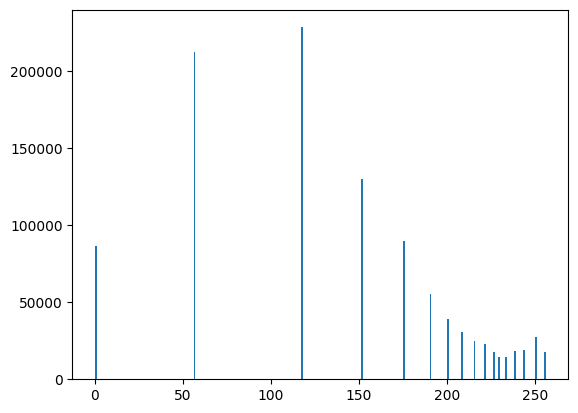
show_histogram(img1, output3)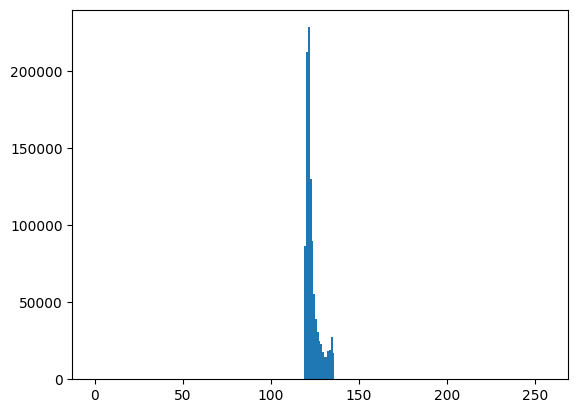
正文完


